Aucun article dans le panier.


You must be logged in to post a review.
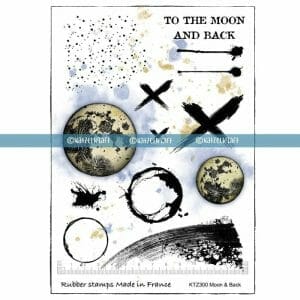
The site as well as the texts and images including all the images and visuals of the stamps are registered with the INPI and with Copyright France.
All photos, images, text on the Katzelkraft website as well as Katzelkraft blog and social media cannot be used without written authorization. All stamps' images of the brand remain Katzelkraft's property
![]()
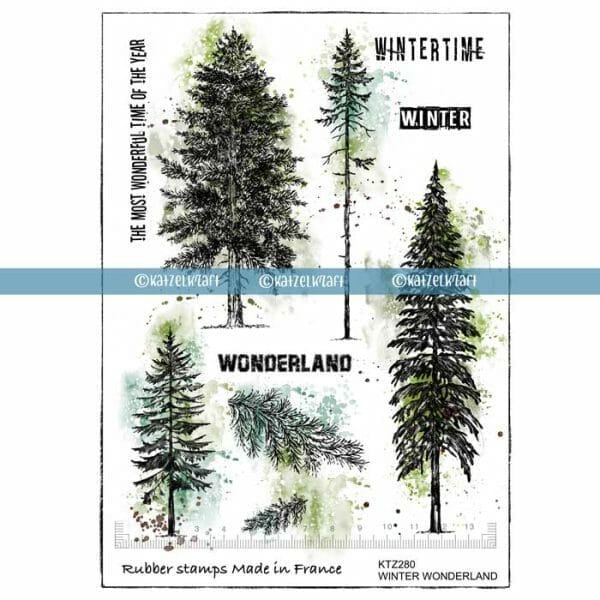